How to Organize a Cluttered Garage in One Weekend (A Zoned System)
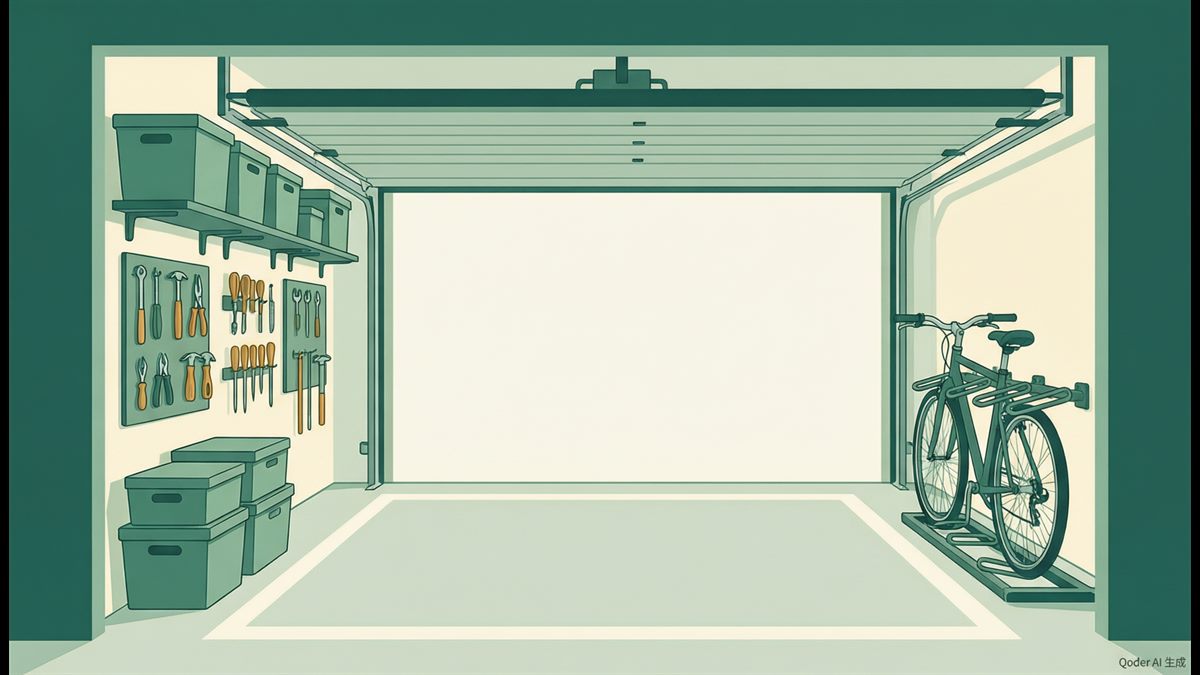
A garage gets cluttered because it is the default home for everything with no address. The fix is not more shelves; it is giving each category a zone and a rule.
Phase 1: empty and sort (Saturday morning)
Pull everything to the driveway in four piles: keep, donate/toss, relocate-inside, and the dreaded idk. Floor and walls get swept once empty. Do this before buying storage — guessing bin sizes first is what turns into a second mess.
Phase 2: build the four zones
Sort by how often you need it, not by what it is:
- Overhead / seasonal — camping, holiday, tools once a year. Up high or on a rack.
- Work zone — the 10 things you touch monthly, on the wall behind the car at arm height.
- Bike-and-big zone — hooks and a floor rack so bulky items stop leaning and falling.
- Toss lane — a real bin with a bag in it, so next month’s clutter has a place to go before it piles up.
Phase 3: go vertical (Sunday)
The floor is for parking; everything else climbs. Wall tracks, overhead racks, pegboard and a cheap slat-wall system turn two walls into most of your needed storage. Lift the heavy boxes off the floor where water finds them.
Make it last
Label the bins you actually open (not the decoration boxes). Take one photo of what is in each so you stop re-buying. Set a rule: one-in-one-out for big toys and tools, and a monthly five-minute reset on the first Saturday.
The honest time budget
Saturday half-day to empty and decide. Sunday to install and load. If it slips, finish the four piles this weekend and put in racks next — clearing the floor is 80% of the felt win.
Related reads
Reducing Household Waste: Realistic Swaps That Actually Stick
The few high-impact changes that cut family waste without adding chores, which popular swaps quietly fail in real households, and how to start without a plastic-free panic.
How to Get Rid of Pantry Bugs for Good (Weevils, Moths and Fruit Flies)
Identify which pantry pest you have, the discard-and-sanitize sequence that actually ends an infestation, and the storage habits that stop round two.

12 Small Habits That Keep a Home Tidy Between Deep Cleans
Twelve low-effort daily and weekly habits — the ten-minute reset, the one-touch rule, doorframe deadlines — that stop mess from snowballing.